Face recognition is the process for recognizing people’s faces inside an image, video, or a live camera for security reasons, or you can use it also for unlocking your phone and much more use cases, to name a few.
It was tough to implement this technique in the old days. But now, python has a library called face recognition, and it can perform this action efficiently with only a few lines of code.
1. Installing The IDE & Libraries
You need to have an IDE on your local machines such as Pycharm, Jupyter Notebook, or Sublime Text, to name a few. Still, there is a lot to use depending on the user experience you like, and your computer power. Pycharm for example will take more power compared to many other IDEs.
Next, after installing your favorite IDE, you need to install only the Face Recognition library. It is the most straightforward library to recognize the faces inside an image or a video. Even in a live camera, it will work perfectly. This face recognition library uses deep learning models for recognizing faces with an accuracy of %99.38, which is insane.
We will use the Jupyter Notebook in this tutorial to implement face recognition in python. If you are going to use then you need to use this command to install this library:
!pip3 install face-recognitionFeel free to use any IDE you want, but not all of them have the same method to install python libraries. So you can search on how to install it before completing the rest of this tutorial.
2. Find Faces In a Picture
The simplest thing you can do with this face recognition library is found the face’s locations inside an image. Let me show you an example:
import face_recognition #Import the library

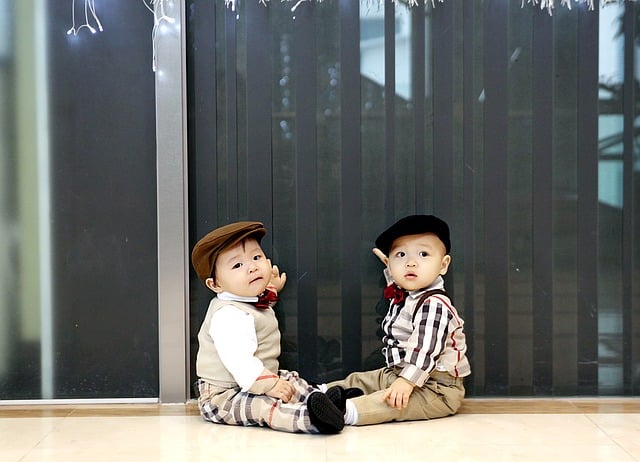
image = face_recognition.load_image_file("twins.jpg") #Import the image

face_locations = face_recognition.face_locations(image) #Find the faces

print(face_locations) #Print the faces locationsThe output will be two arrays inside a list representing two faces inside this image. Every face has a location, and their numbers represent their location in the picture. Let me explain what we’ve already done.
The first line is for importing the face recognition library. Then, we import the twins.jpg image using the .load_image_file() function provided from the face recognition library. You will need to pass the image path on your local machine.
Then we use the .face_locations() function to locate the faces on the image, which will give us the locations as arrays in a list in which we can print the result and see their locations.
You may not understand these numbers, but it means (top, right, bottom, left) of the people’s faces in the image, which will be helpful to us later in this tutorial.
3. Counting People Inside The Image
You could see that we have only two people in the previous image, which is noticeable. Still, sometimes you have many people’s faces, or you are building a system to count how many people are at that moment in a video or live camera. We will use the len() function to measure them:
import face_recognition #Import the library

image = face_recognition.load_image_file("twins.jpg") #Import the image

face_locations = face_recognition.face_locations(image) #Find the faces

print("There are {} people in the image".format(len(face_locations))) #Print the number of people
We’ve used the previous image in this example, and it will tell you that there are two people in the picture. The len() function calculates the number of arrays inside the list, representing the number of faces and people in that image.
4. Recognize People Faces
This is the most fun part of this tutorial which we will use this library to recognize people’s faces inside an image. You will feed someone’s face to this library, and when you give it to another person’s face, it will recognize him. Let’s see an example for this:
import face_recognition #Import the library

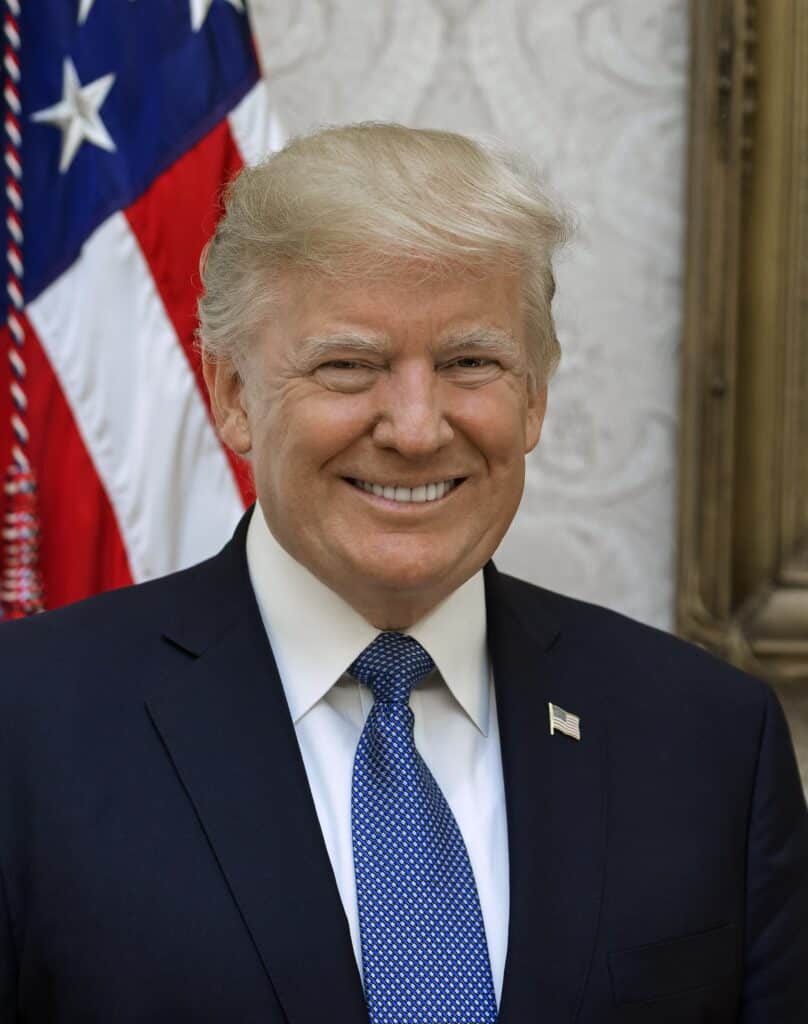
image_of_trump = face_recognition.load_image_file("Donald_Trump.jpg") #Import the image
trump_face_encoding = face_recognition.face_encodings(image_of_trump)[0] #Recognize the person face

unknown_image = face_recognition.load_image_file("unknown.jpg") #Import the image
unknown_face_encoding = face_recognition.face_encodings(unknown_image)[0] #Recognize the other person face

result = face_recognition.compare_faces([trump_face_encoding], unknown_face_encoding) #Compare face

print(result[0]) #Print the result either True or False

The very first two lines are for importing the face recognition library and the person image. Then, we use the .face_encodings() function to recognize the faces of that person and store these characteristics inside the obama_face_encoding variable.
We will repeat the same method for another person importing the image and use the .face_encodings() function to recognize his face and store them in a variable.
Next, we need to compare these two faces to know if the second person is the same as the first one. We use the .compare_faces() function, passing the face encoding of the first person followed by the second one.
Remember that the first parameter in the .compare_faces() function should be curly brackets. Still, the second one passes it without any curly brackets and the rest of other people’s faces if you want to compare many people to the first person face. If there is a match, you will get the print() function will print True as a result.
Since they are the same person, Donald Trump, you will get the True message, but try to change the second image or the first one, and you will get False if the two images are not the same person.
Conclusion
Thanks for reading! This article was just an overview of the face recognition library and how you can perform robust face recognition using just a few lines of python codes which make it the best to perform this type of action.
