OpenCV is an extensive library used in image & video processing applications such as self-driving cars & features extraction. It is open-source, which means everyone can contribute to developing this library, and how much time you spend learning this library won’t be enough to know everything that this library has. The previous article shows simple commands to start using OpenCV, which will teach more about this library.
1. Convert Image Colors
In some situations, you need to convert the image colors to grayscale when performing image processing or building a neural network for a deep learning model. OpenCV makes it easy to change the image color with only a straightforward command. Let’s see a simple example:
import cv2 as cv #Import OpenCV

img = cv.imread("Image.jpg") #Import the image

Gray = cv.cvtColor(img, cv.COLOR_BGR2GRAY) #Convert image color

cv.imshow("Gray", Gray) #Show the image

cv.waitKey(0) #Milliseconds time to show the image
cv.destroyAllWindows() #Close the window
You will see the image shown in the grayscale color (Black & White). Let me explain the code to you. The first two lines for importing the OpenCV library and importing the image will use the .cvtColor() function to change the image color.
You will need to pass the image you’ve just imported in the last step, followed by the color you want to change, grayscale.
Many OpenCV algorithms change the picture color using the cv.COLOR_BGR2GRAY algorithm to convert the colors. Remember that OpenCV reads images as BGR (Blue Green Red), not RGB (Red Green Blue) like most other libraries.
Then you will show the image with the .imshow() function for an infinite time until you press any key on your keyboard using the .waitKey(0) function and close the windows using the .destroyAllWindows() function.
You can convert to many other colors, such as HSV, using the cv.COLOR_BGR2HSV algorithm. You can also convert it to RGB using the cv.COLOR_BGR2RGB algorithm or to Luv using the cv.COLOR_BGR2Luv algorithm, to name a few.
2. Saving The Image
You need in some situation to save your image after changing it, maybe after you change its colors or drawing on your image and anything else. OpenCV makes it easy to perform this action using a simple command. We will save an image after converting its color to HSV:
import cv2 as cv #Import OpenCV

img = cv.imread("Image.jpg") #Import the image

HSV = cv.cvtColor(img, cv.COLOR_BGR2HSV) #Convert image color

cv.imwrite("Image_HSV.jpg", HSV) #Save the image

cv.waitKey(0) #Milliseconds time to show the image
cv.destroyAllWindows() #Close the window
You can see from the previous code that we’ve added the .imwrite() function to save the image to your local machine.
First, you will need to pass the image name with the extension, something like .jpg or .png, followed by the converted image stored in the HSV variable.
Feel free to try the same code by converting the image to gray using the cv.COLOR_BGR2GRAY algorithm.
3. Image Smoothing
Let’s assume that you have an old image and it is noisy and doesn’t look good quality, and you want to make it look better. You need to learn something called image smoothing or blurring, which removes the image’s noise, sharpness, and clutter. Let’s see a simple example:
import cv2 as cv #Import OpenCV

img = cv.imread("noisy_image.png") #Import the image

blur = cv.blur(img, (5, 5)) #Blurring the image

cv.imshow("img", img) #Showing original image

cv.imshow("Blur", blur) #Showing blurred image

cv.waitKey(0) #Milliseconds time to show the image
cv.destroyAllWindows() #Close the window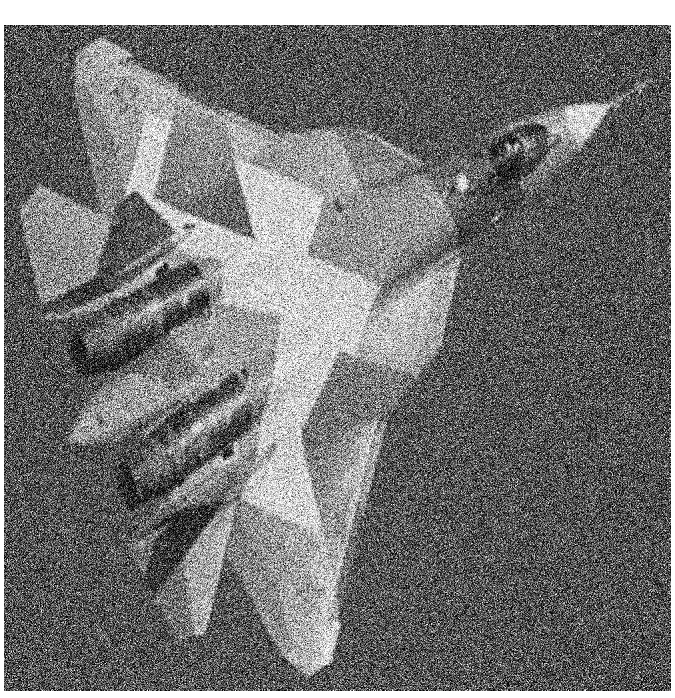
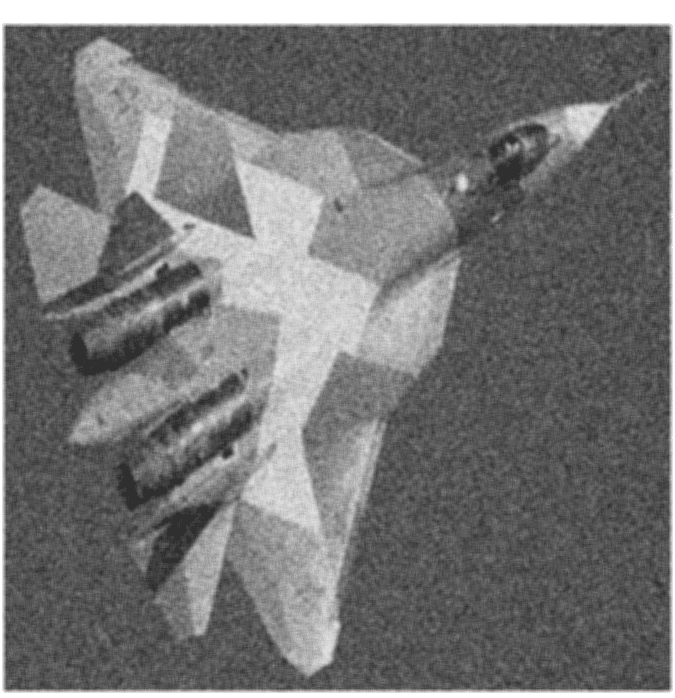
You can notice the differences between the two images before and after blurring it, and there is not much improvement. Still, it also depends on the picture and the parameters of the kernel and many other factors.
The very first two lines are for importing the library and the image. Then you will use the .blur() function for blurring the image. You will need to pass the image. First, you need to blur the kernel size (5, 5) in this case.
You may wonder what the benefits of the kernel size are? The .blur() function will take the kernel size (5, 5), choose a small area of the image 5×5 pixels, and calculate the average value to replace it with the original image value, making it less noisy.
Next, we will show both images before and after we made the changes using the .imshow() function and displaying them for an infinite time with the .waitKey(0) and destroy all the windows after pressing any key on your keyboard using the .destroyAllWindows() function.
4. Drawing On The Image
OpenCV makes it very easy to draw many shapes on the images and choose the place and size of these shapes. Let’s start by drawing a simple line on the picture:
import cv2 as cv #Import OpenCV

img = cv.imread("Image.jpg") #Import the image

line = cv.line(img, (45, 45), (120, 120), (255, 0, 0), 5) #Draw a line

cv.imshow("Image", line) #Save the image

cv.waitKey(0) #Milliseconds time to show the image
cv.destroyAllWindows() #Close the window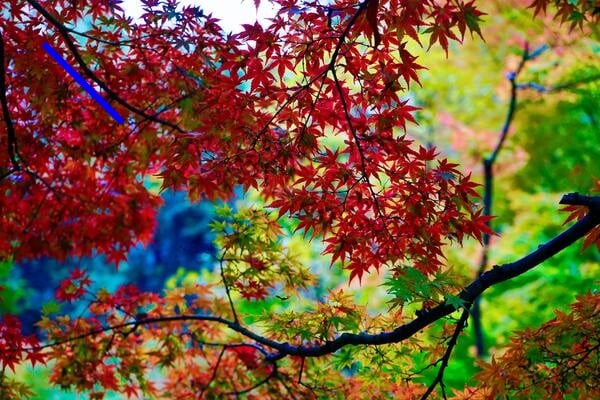
You can see that we’ve used the .line() function to draw a line. You will need to pass the image you need to write the line on it then you will specify the first point location, which is (45, 45) and the second one is (120, 120) and pass the color in the RGB model. The color (255, 0, 0) means blue, and the last variable is the line thickness. Let’s now draw a circle on the image:
import cv2 as cv #Import OpenCV

img = cv.imread("Image.jpg") #Import the image

circle = cv.circle(img, (340, 200), 70, (255, 0, 0), 3) #Draw a circle

cv.imshow("Image", circle) #Save the image

cv.waitKey(0) #Milliseconds time to show the image
cv.destroyAllWindows() #Close the window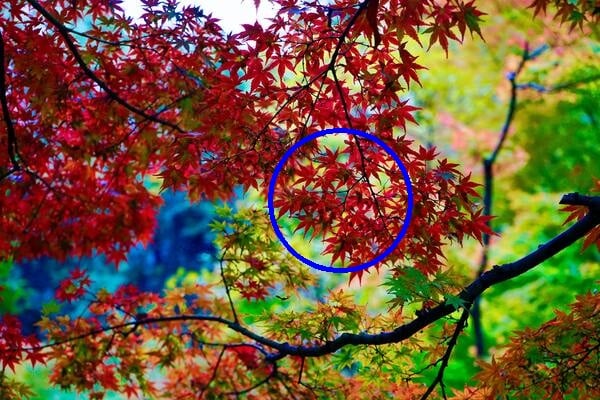
You will use the .circle() function to draw a circle on the image. You will need to specify the image first, then specify the center point of this circle (340, 200) and the circle’s radius, which is 70. Finally, set the color (255, 0, 0) and the thickness of the circle line.
Conclusion
Thanks for reading! This article has shown you some simple operations to apply to the image using the OpenCV library. Still, it is more extensive than these simple operations, and that’s why it is used a lot in face recognition systems and self-driving cars.